How to Set Up a CDN for WordPress (And Why It Matters)
A CDN delivers your WordPress assets from servers close to each visitor, cutting load times regardless of where your origin server is. Here's how to set one up.
Your WordPress server might be in a data center in Virginia or Frankfurt. When a visitor in Sydney requests your site, every asset — HTML, CSS, JavaScript, images — travels from that server to their browser. That’s 150–200ms of round-trip latency before any asset even starts downloading, regardless of how fast your server is.
A content delivery network (CDN) solves this by caching your assets at edge nodes distributed globally. A visitor in Sydney gets assets from a nearby edge node in Singapore or Sydney itself, not from your origin server thousands of kilometers away. The latency drops from 200ms to 20ms for cached assets.
This guide covers how CDNs work for WordPress, which options to use, and how to configure them correctly.
What a CDN actually does (and doesn’t do)
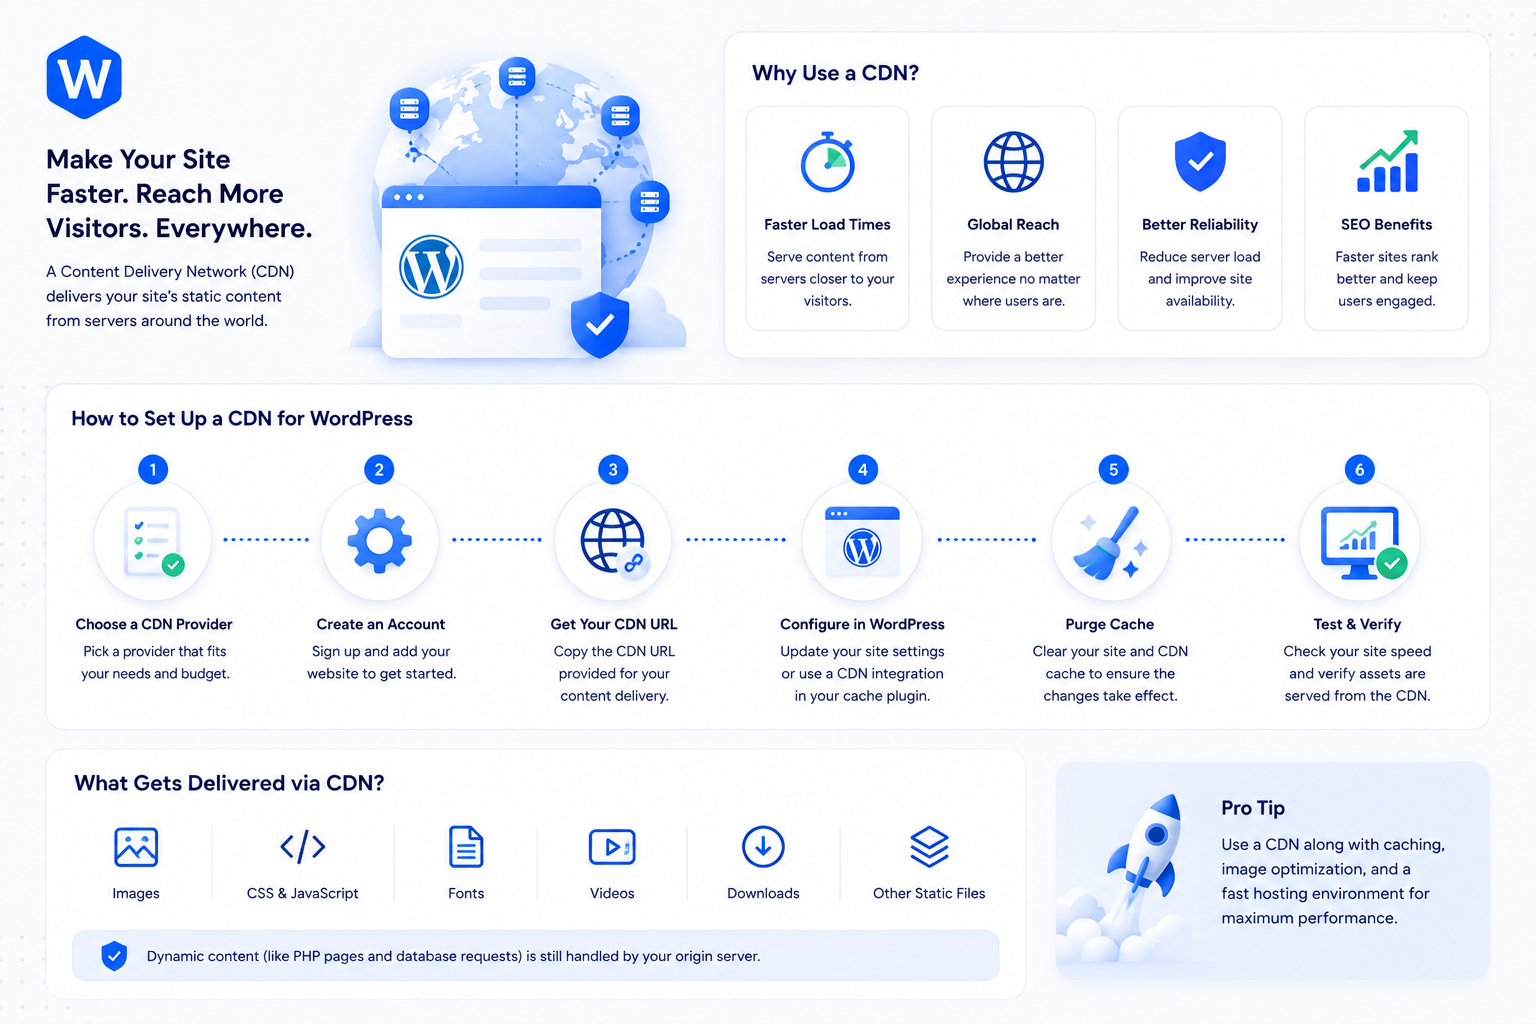
A CDN caches and serves static assets from edge locations. Static assets include CSS files, JavaScript, images, fonts, and downloadable files — anything that doesn’t change between requests.
What a CDN does not do: speed up the dynamic, uncached parts of your WordPress pages. Your server still processes PHP and queries the database to generate each HTML page for new visitors. The CDN serves the cached HTML if full-page caching is configured, but the origin server still handles the initial page generation and any non-cacheable requests.
The combination of a page cache (served by your caching setup) with a CDN (serving assets from edge) is what produces the fastest possible load time end-to-end. Neither alone covers everything.
A CDN also provides:
- DDoS mitigation — absorbing volumetric attack traffic at the edge before it reaches your origin server
- Reduced origin bandwidth — cache hits at the edge don’t consume your hosting plan’s bandwidth
- Always-on HTTPS — CDNs issue and renew SSL certificates for you at the edge
Option 1: Cloudflare (free tier covers most sites)
Cloudflare is a proxy CDN: your domain’s DNS points to Cloudflare, and Cloudflare proxies all traffic through its network. Your origin server’s IP address is hidden behind Cloudflare’s edge.
Setup:
- Create a Cloudflare account and add your domain
- Cloudflare scans your existing DNS records and imports them
- Update your domain’s nameservers to Cloudflare’s nameservers (at your registrar)
- Cloudflare confirms the transfer and begins proxying traffic
Once active, Cloudflare automatically caches static assets at its edge and serves them to visitors. The free tier includes:
- Global CDN
- DDoS protection
- Free SSL/TLS
- Basic firewall rules (5 rules on free)
- Analytics (limited)
For most WordPress sites, the free tier is sufficient. The Pro tier ($20/month) adds a Web Application Firewall with WordPress-specific rulesets, image optimization, and more granular caching controls.
WordPress-specific Cloudflare configuration:
In your Cloudflare dashboard under Caching → Configuration:
- Set Browser Cache TTL to at least 1 month for static assets
- Enable Always Use HTTPS
- Under Speed → Optimization, enable Auto Minify for CSS, JavaScript, and HTML (optional — your caching plugin may do this already; don’t double-minify)
In your WordPress caching plugin, add Cloudflare integration if supported (WP Rocket has a native Cloudflare integration). This enables cache purging — when you update content, the CDN cache is cleared automatically rather than serving stale pages.
Add a Page Rule (or Cache Rule on Pro) to exclude dynamic WordPress paths from Cloudflare’s cache:
yourdomain.com/wp-admin/*  →  Cache Level: Bypass
yourdomain.com/wp-login.php  →  Cache Level: Bypass
Option 2: BunnyCDN (paid, asset-focused)
BunnyCDN takes a different approach from Cloudflare: rather than proxying all traffic, it focuses specifically on asset delivery via a pull zone. You point BunnyCDN at your origin for a specific URL path (typically /wp-content/), and BunnyCDN serves those assets from its edge with your own CDN subdomain.
Setup:
- Create a BunnyCDN account and add a Pull Zone pointed at your origin
- Note the CDN subdomain (
yoursite.b-cdn.net) - In your WordPress caching plugin, set the CDN URL to your BunnyCDN subdomain
- Your caching plugin rewrites asset URLs to use the CDN subdomain
Pricing is usage-based (around $0.01/GB), making it extremely cost-effective for sites with large media libraries or high asset traffic.
BunnyCDN is a good fit when:
- You want the CDN to handle only assets, not all traffic (simpler than a full proxy setup)
- You’re already using Cloudflare for DNS/security and want a separate CDN for asset delivery
- Your media library is large and you want to optimize bandwidth costs
Option 3: Your host’s integrated CDN
Many managed WordPress hosts include CDN functionality as part of the plan. Kinsta integrates Cloudflare’s network, WP Engine has their Global Edge Security product, and SiteGround bundles Cloudflare on their plans.
Host-integrated CDNs are the lowest-friction option — configuration is usually handled in the hosting dashboard, and the CDN integrates with the host’s caching layer automatically. The trade-off is less control and fewer options than configuring Cloudflare or BunnyCDN independently.
Configuring WordPress to use a CDN
For Cloudflare’s full-proxy setup, WordPress doesn’t need configuration changes — all traffic goes through Cloudflare automatically.
For pull-zone CDNs (BunnyCDN, KeyCDN, and similar), WordPress needs to rewrite asset URLs to point to the CDN domain. Your caching plugin handles this:
- WP Rocket: Settings → CDN → enter your CDN URL. WP Rocket rewrites all asset URLs automatically.
- W3 Total Cache: Performance → CDN → configure the CDN type and hostname.
- LiteSpeed Cache: CDN → enable and enter the CDN domain.
After configuring, verify asset URLs by inspecting your page source or the Network tab in Chrome DevTools. Static assets (CSS, JS, images) should show URLs from your CDN domain, not your origin domain.
Testing that the CDN is working
Open your site in Chrome DevTools (Network tab). Filter by “Img” and reload the page. Image URLs should reflect your CDN domain. Check the response headers for cache-related headers:
CF-Cache-Status: HIT— Cloudflare served this from edge cacheAge: 3600— asset has been cached for 3600 secondsCache-Control: max-age=31536000— browser should cache for one year
A CF-Cache-Status: MISS on first load followed by HIT on subsequent loads confirms the CDN is caching correctly.
For Cloudflare, the Observatory tool and PageSpeed Insights both surface CDN-related performance improvements. The geographic distribution of your visitors in your analytics should correlate with which edge locations matter most for your setup.
Common CDN issues on WordPress
Cart and checkout not working after Cloudflare setup: WooCommerce cart and checkout pages must bypass the CDN cache — they’re session-dependent. Add Page Rules to bypass cache for /cart/, /checkout/, /my-account/, and any other dynamic pages. WooCommerce’s own Cloudflare integration or your caching plugin should handle this automatically.
Admin getting cached: wp-admin pages must not be cached. Add a bypass rule for /wp-admin/*.
Mixed content warnings after HTTPS migration: If some assets still load over HTTP after setting up CDN with HTTPS, check that your search-replace covered all URLs in the database and that your caching plugin is rewriting correctly. See the 301 redirects guide for the HTTP-to-HTTPS migration approach.
Images loading from origin, not CDN: The CDN URL rewriting isn’t active in your caching plugin, or the CDN pull zone isn’t configured to cover /wp-content/uploads/. Verify the CDN URL setting in your plugin and check the pull zone origin path.