WordPress Staging Environment: How to Set One Up the Right Way
A WordPress staging environment lets you test updates, redesigns, and new plugins before they touch your live site. Here's how to set one up and actually use it.
Every WordPress site change carries some risk: a plugin update that conflicts with another, a theme change that breaks the mobile layout, a new feature that causes a PHP fatal error. The question isn’t whether something will go wrong eventually — it’s whether it goes wrong on your live site in front of real visitors, or on a staging environment where you catch it first.
A staging environment is a private copy of your WordPress site where you can make and test changes without affecting production. It’s the single most effective safety measure in WordPress operations, and it’s underused because the setup feels like extra work. This guide covers what staging is, how to set it up, and how to integrate it into your workflow.
What a staging environment actually is
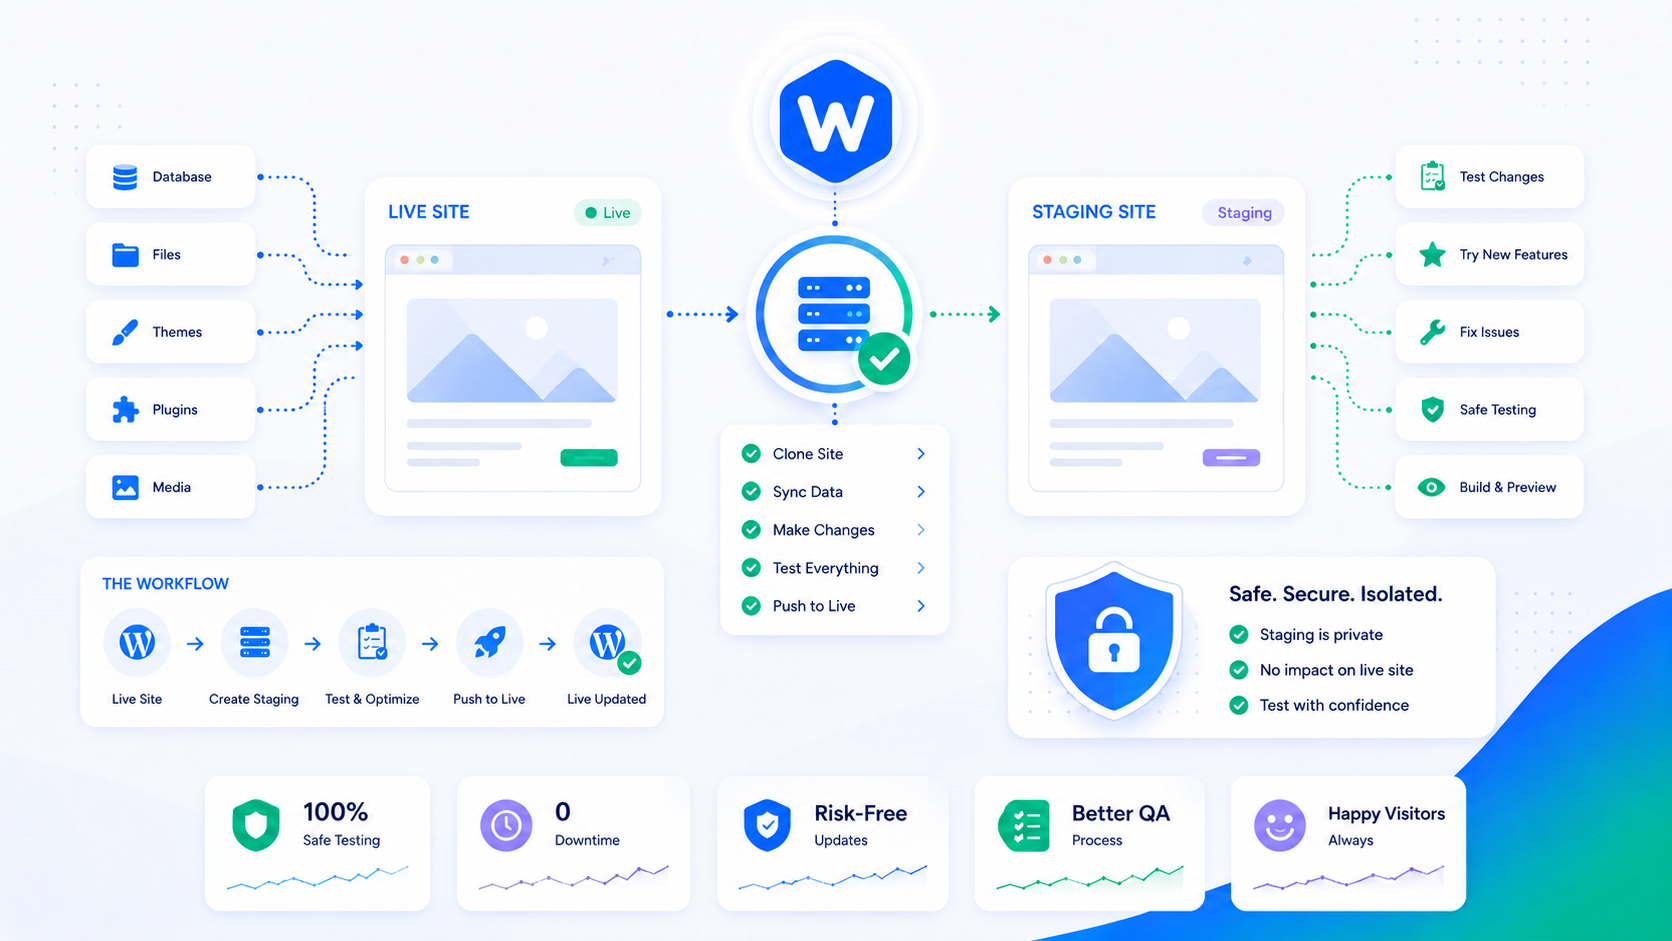
A staging environment is a complete copy of your WordPress installation — files, database, theme, plugins, content — running on a separate URL that isn’t publicly indexed. Changes made on staging don’t affect your live site. When you’ve confirmed a change works correctly, you push it to production.
“Complete copy” is the key phrase. A staging environment that runs a different plugin set, a different WordPress version, or a different PHP version than production doesn’t tell you reliably whether changes will work on production. The closer staging is to production, the more useful it is.
Staging serves several specific use cases:
- Testing plugin and theme updates before applying them to production — catching conflicts before visitors encounter them
- Developing new features in a safe environment with real content to test against
- Verifying major changes (theme redesigns, URL structure changes, WooCommerce configuration) with real site data
- Testing restores from backup, confirming the backup is actually usable (see the backup strategy guide)
Option 1: Host-provided staging (easiest)
Many managed WordPress hosts include one-click staging environment creation. Kinsta, WP Engine, Flywheel, and others provide a staging subdomain that’s a database and file copy of your live site, created and managed through the hosting dashboard.
The advantages: fast setup, no server configuration required, and push-to-production workflows are built into the same interface. The disadvantages: you’re dependent on the host’s implementation, staging environments may have limitations (restricted email sending, resource caps), and the staging/production push workflow may not handle all edge cases correctly for complex sites.
If your host offers staging, use it. It removes the setup barrier and covers the majority of staging use cases.
Option 2: Plugin-based staging
Plugins like WP Stagecoach and BlogVault’s staging feature let you create a staging copy and push changes back to production from within WordPress. These work on any host, including shared hosting where server-level staging setup isn’t available.
Plugin-based staging typically works by:
- Copying your database and files to a staging subdomain or subdirectory
- Running a URL search-and-replace to update internal links and WordPress settings
- Providing a push-to-production workflow that selectively merges changes
The limitation: plugin-based staging tools vary in how reliably they handle complex sites, particularly WooCommerce stores with active order data or sites with large media libraries. Test the workflow on your specific setup before relying on it.
Option 3: Manual subdomain setup
For full control on a VPS or server with SSH access, setting up a staging environment manually gives you the most flexibility.
Step 1: Create a staging subdomain. Add a subdomain (staging.yourdomain.com or dev.yourdomain.com) in your DNS and create a matching virtual host on your server.
Step 2: Copy the files. Duplicate your WordPress files to the staging document root:
cp -r /var/www/production /var/www/staging
Step 3: Export and import the database. Export the production database and import it to a new staging database:
mysqldump production_db > production_backup.sql
mysql staging_db < production_backup.sql
Step 4: Update wp-config.php. Edit the staging copy’s wp-config.php to point to the staging database:
define('DB_NAME', 'staging_db');
define('DB_USER', 'staging_user');
define('DB_PASSWORD', 'staging_password');
Step 5: Search and replace URLs. The database contains hundreds of references to your production URL. Use WP-CLI to replace them with the staging URL:
wp search-replace 'https://yourdomain.com' 'https://staging.yourdomain.com' --all-tables
Step 6: Block search engine indexing. Add a noindex directive to the staging site via robots.txt or the WordPress Reading settings. You don’t want staging content appearing in search results.
Keeping staging and production in sync
Staging environments drift from production over time — new content is published, new plugins are installed, configurations change. A staging environment that’s two months out of date from production is less useful for testing production changes.
Establish a resync cadence: recreate or update staging from a fresh production snapshot before any significant testing session. Most host-provided and plugin-based staging tools make this straightforward. For manual setups, a resync script that re-exports the production database and runs the search-replace is a repeatable process.
Be aware of what changes in which direction:
- Code changes (theme edits, plugin configuration, new plugins) flow from staging → production after testing
- Content changes (new posts, updated pages, new orders) happen on production; they should not be overwritten by pushing staging to production carelessly
The push-to-production workflow should push code, not content. Overwriting production’s database with staging’s database means losing any content published since the staging copy was made.
Staging in the update workflow
The practical staging workflow for plugin and theme updates:
- Resync staging from a fresh production snapshot
- Apply all pending updates on staging
- Walk through the site’s key pages and functionality — homepage, contact form, checkout, any page with complex shortcodes or page builder content
- Check error logs for new PHP notices or warnings
- If everything looks correct, apply the same updates to production
- Verify production immediately after
This process catches the majority of update-related breakage before it reaches live traffic. The WordPress maintenance checklist includes staged updates as a monthly task, and the process above takes 20–30 minutes once staging is set up.
Blocking staging from search engines
A staging site that gets indexed by Google creates duplicate content problems — the same content at two URLs, with the staging URL potentially ranking for the terms the production URL should own.
Prevent this in three ways:
robots.txt on staging: Add Disallow: / under User-agent: * in the staging site’s robots.txt. Unlike production, you want to block all crawlers here.
WordPress privacy settings: Settings → Reading → “Discourage search engines from indexing this site” adds a noindex meta tag sitewide. This is the most reliable option for plugin-based staging.
HTTP authentication: Protect the entire staging subdomain with HTTP Basic Auth at the server level. This prevents both search engine crawling and unauthorized human access to your staging content.
Staging and migration
Staging and migration workflows overlap significantly — both involve copying WordPress across environments and running URL search-replace. If you’re planning a site migration to a new host, setting up staging on the destination host and testing the migrated site there is a lower-risk approach than cutting over DNS before you’ve confirmed the site works on the new server. The WordPress migration guide covers the full migration process.